
Archived from the Developer Logs on the old forums and left as it was written, so it reflects the game as it stood in 2014.
RULES/DISCLAIMER
Breaking these rules will result in infractions, bans, rejections, ejections, and if you push me too far, I’ll come round to your house give you a little whack with a crowbar.
Very importantly, any images which I post in this thread are ABSOLUTELY NOT REPRESENTATIVE OF THE FINAL PRODUCT. The majority of what I’m going to post here are from very early development versions which were scrapped and redone, from scratch, because they were not good enough. NOTHING you see here represents how Gasworks, or Black Mesa currently looks. Do not judge the game based on what I post here. If images or topics from this thread start getting circulated, with people saying: “look how awful Black Mesa MP looks!” then I will stop doing these entirely. This is the top rule for these blog posts.
This is a personal dev blog, and is not sanctioned by the Black Mesa team. My views, design abilities and comments do not reflect that of the dev team.
Please stay on topic. I will happily answer questions and chat, but I won’t answer questions unrelated to my current posts. I am going through the map’s development chronologically. We will get to current versions, eventually.
Also, don’t be mean. As the least experienced level designer on the team, I have learned incredible amounts over the course of my time here, and vastly improved my abilities. I’m aiming, here, to outline the mistakes and process that led me to this stage. Comment on my mistakes and problems, and give thoughts, by all means, but if people start to be cruel or nasty, they will get infractions. We’re only human.
THE SECOND ITERATION - AN ARTISTIC FAILURE
Incoming Rude Awakening!
I thought I was doing pretty well. The map was playing pretty fine, for a product which had only had a few weeks’ work it was looking quite alright. I was still struggling to make the contrasting themes work and was in the process of revising the hallways to try and find a more suitable aesthetic. I tried a variety of base themes for the hallways but none of them really fit. I was messing around with different aesthetics for outside (ignore the bad reflections):
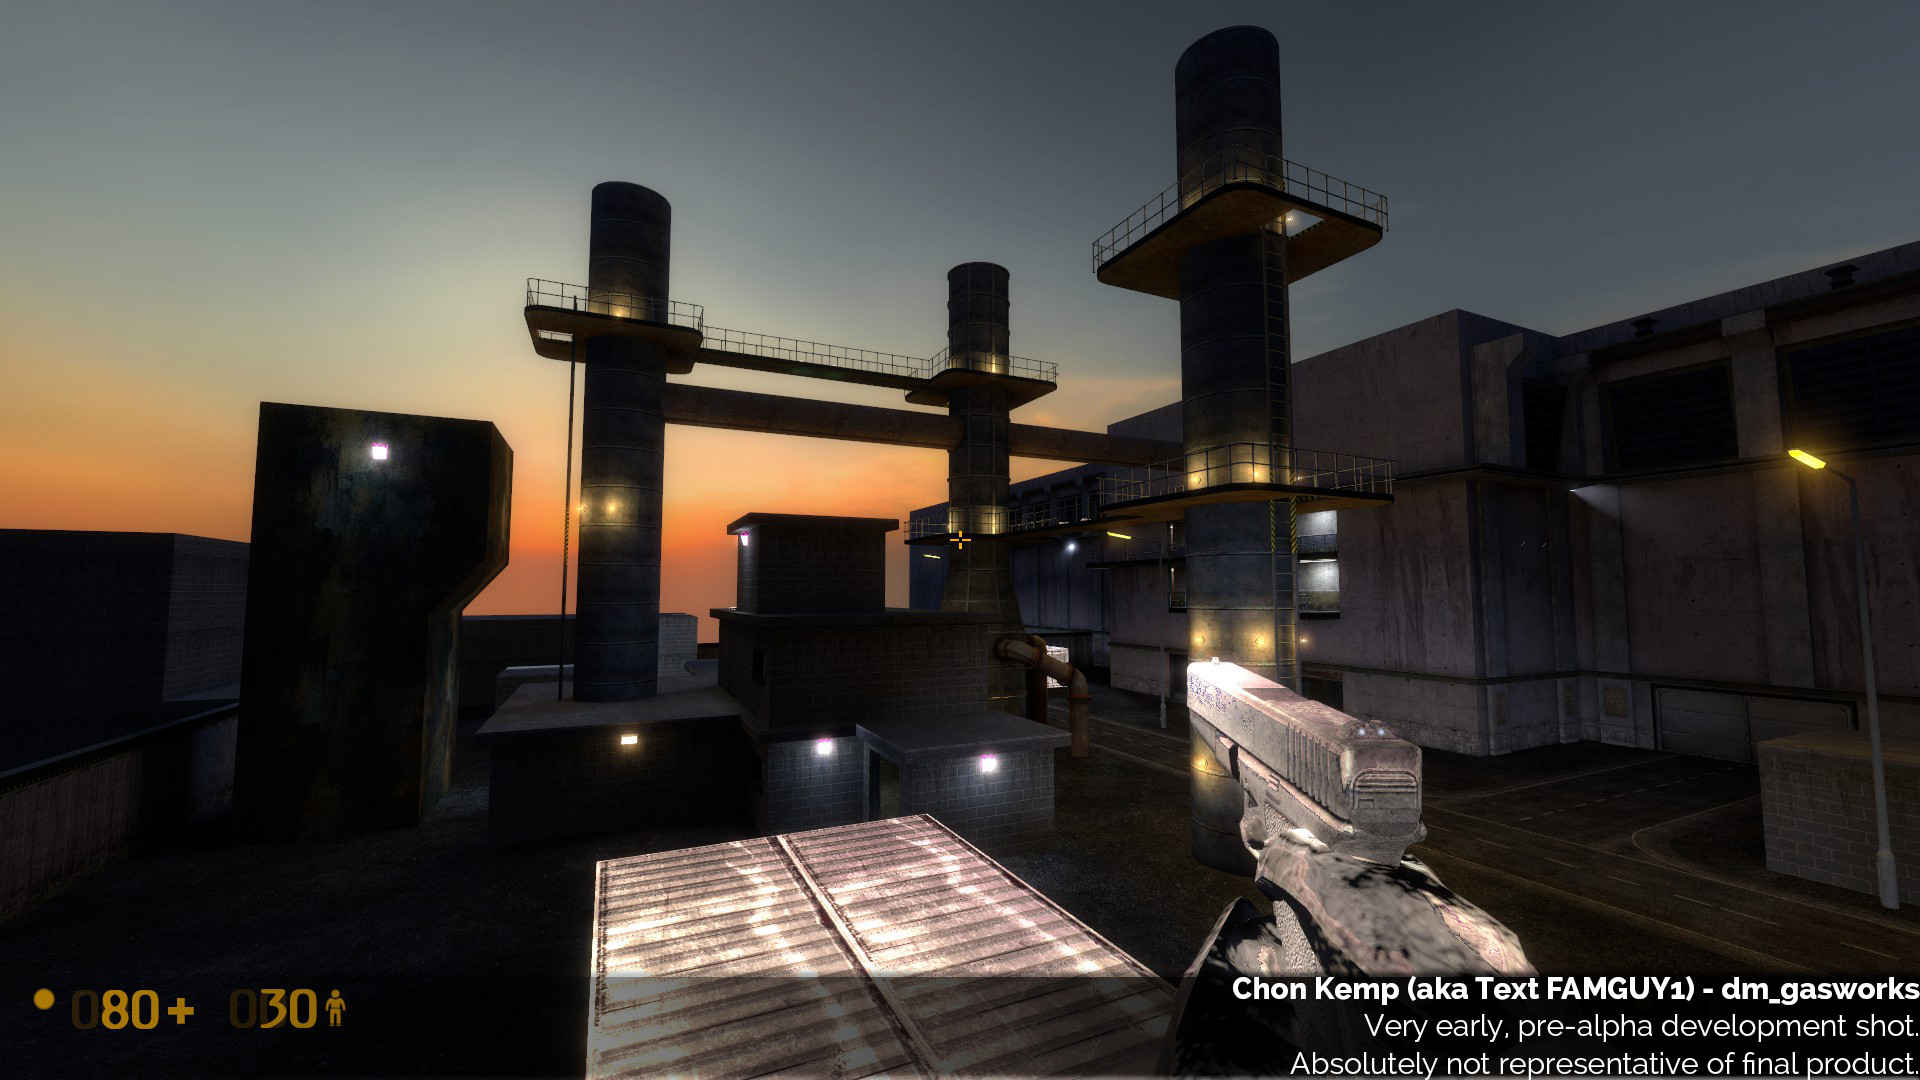
This was when I received my rude awakening, which would cause me to redo the map from scratch.
Blockgate, a.k.a. Block Mesa 2013
Thus, we come to BLOCKGATE 2013. One of the other, more senior mappers was unhappy with my treatment of Gasworks. He felt the map Gasworks was too complex a map and that I should have been given a simpler, less ambitious map to work on. Looking back at it now, he may very well have been right! And so, he set about showing this in the simplest way possible - by making it himself, in orange map (“blockout”). He posted his blockout to the team, explaining that he’d done it to show what a good blockout for the map, which treats it right, should have been.
This initially created some drama, and I was a bit upset, as you might imagine. But, it turned out to be a huge wake up call. His blockout was GREAT. Dimensionally it made sense nearly everywhere, it was cleanly constructed and designed. Very clear, readable, neat. A far cry from mine, which was messily textured, not neat on a 16/32 grid (very important!), not well constructed internally etc. Once I got past my initial reaction, I quickly realised that he was RIGHT. My current version of the map simply wasn’t good enough - the few weeks of work I’d put in didn’t measure up to what he’d done in a few hours. It was the kick up the arse I needed to get on track. Rather than accepting the premise that I wasn’t capable of doing as good a job, I took it as a challenge. I was going to be that good. But boy, would it take a while.
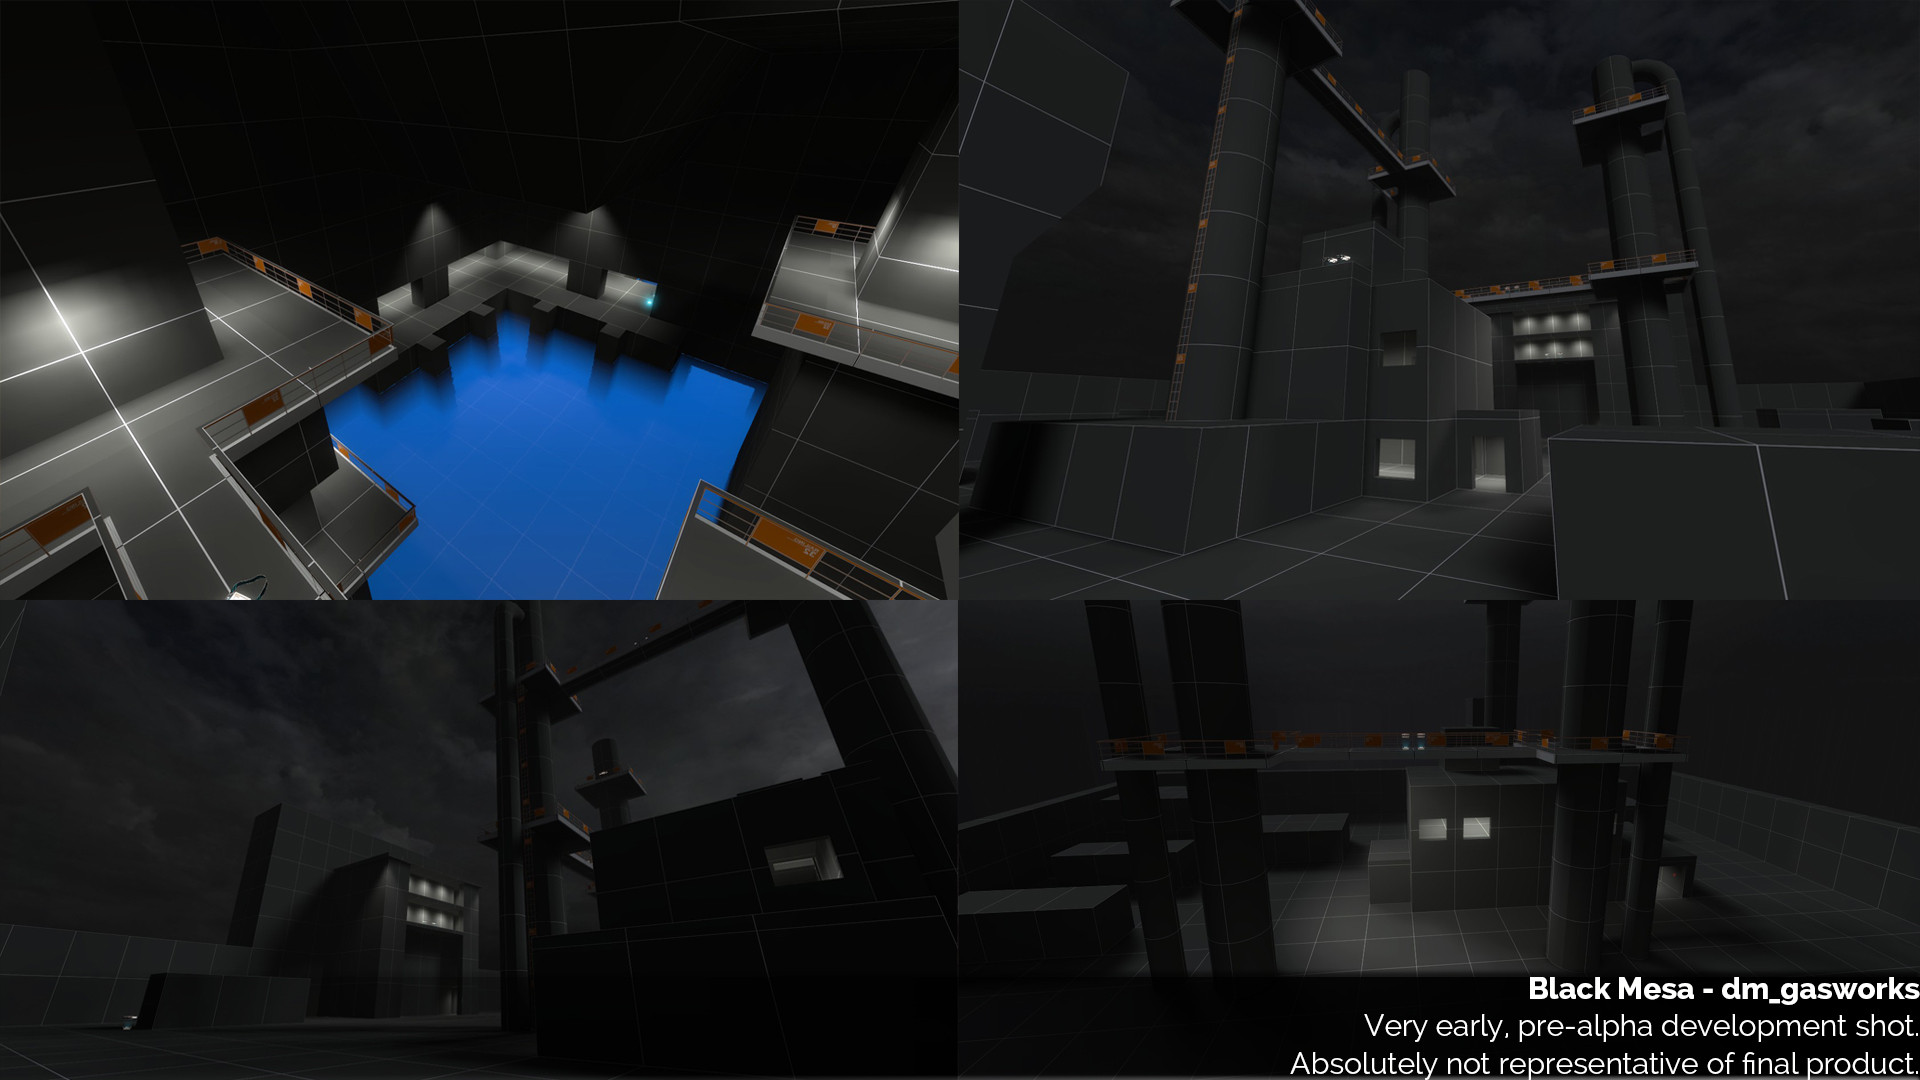
His first version was everything mine should have been.
Please welcome to the stage…iteration 2!
And so, I redid the map…from scratch.
So you’re probably thinking now…“he got this wake up call and will now triumphantly rose to the challenge”. Wrong. Things actually got a little bit worse before they got better!
Part of the reason for this was the “delivery” of the feedback. I’d been made very clearly aware that I had done something very wrong, but I hadn’t fully understood quite what. My reasoning was that the main issue with my first iteration was that it was dimensionally inaccurate and poorly constructed - but I did not quite realise yet that the real issue actually lay with direction and vision. My second iteration set about correcting the dimension and construction aspect, but I still didn’t quite have a clear vision or direction, aesthetically or gameplay wise. I still hadn’t decided if I wanted to stick with the original or not, or what my aesthetic was.
The new, totally redone version which followed, dramatically improved on the gameplay and layout, but failed visually and aesthetically. Worst of all, the problems with the visuals seriously hampered the gameplay. More on this later.
Here are some shots from the new, redone from scratch second iteration. I would later scrap this and start again. We will now explore some of the failings of this second version.
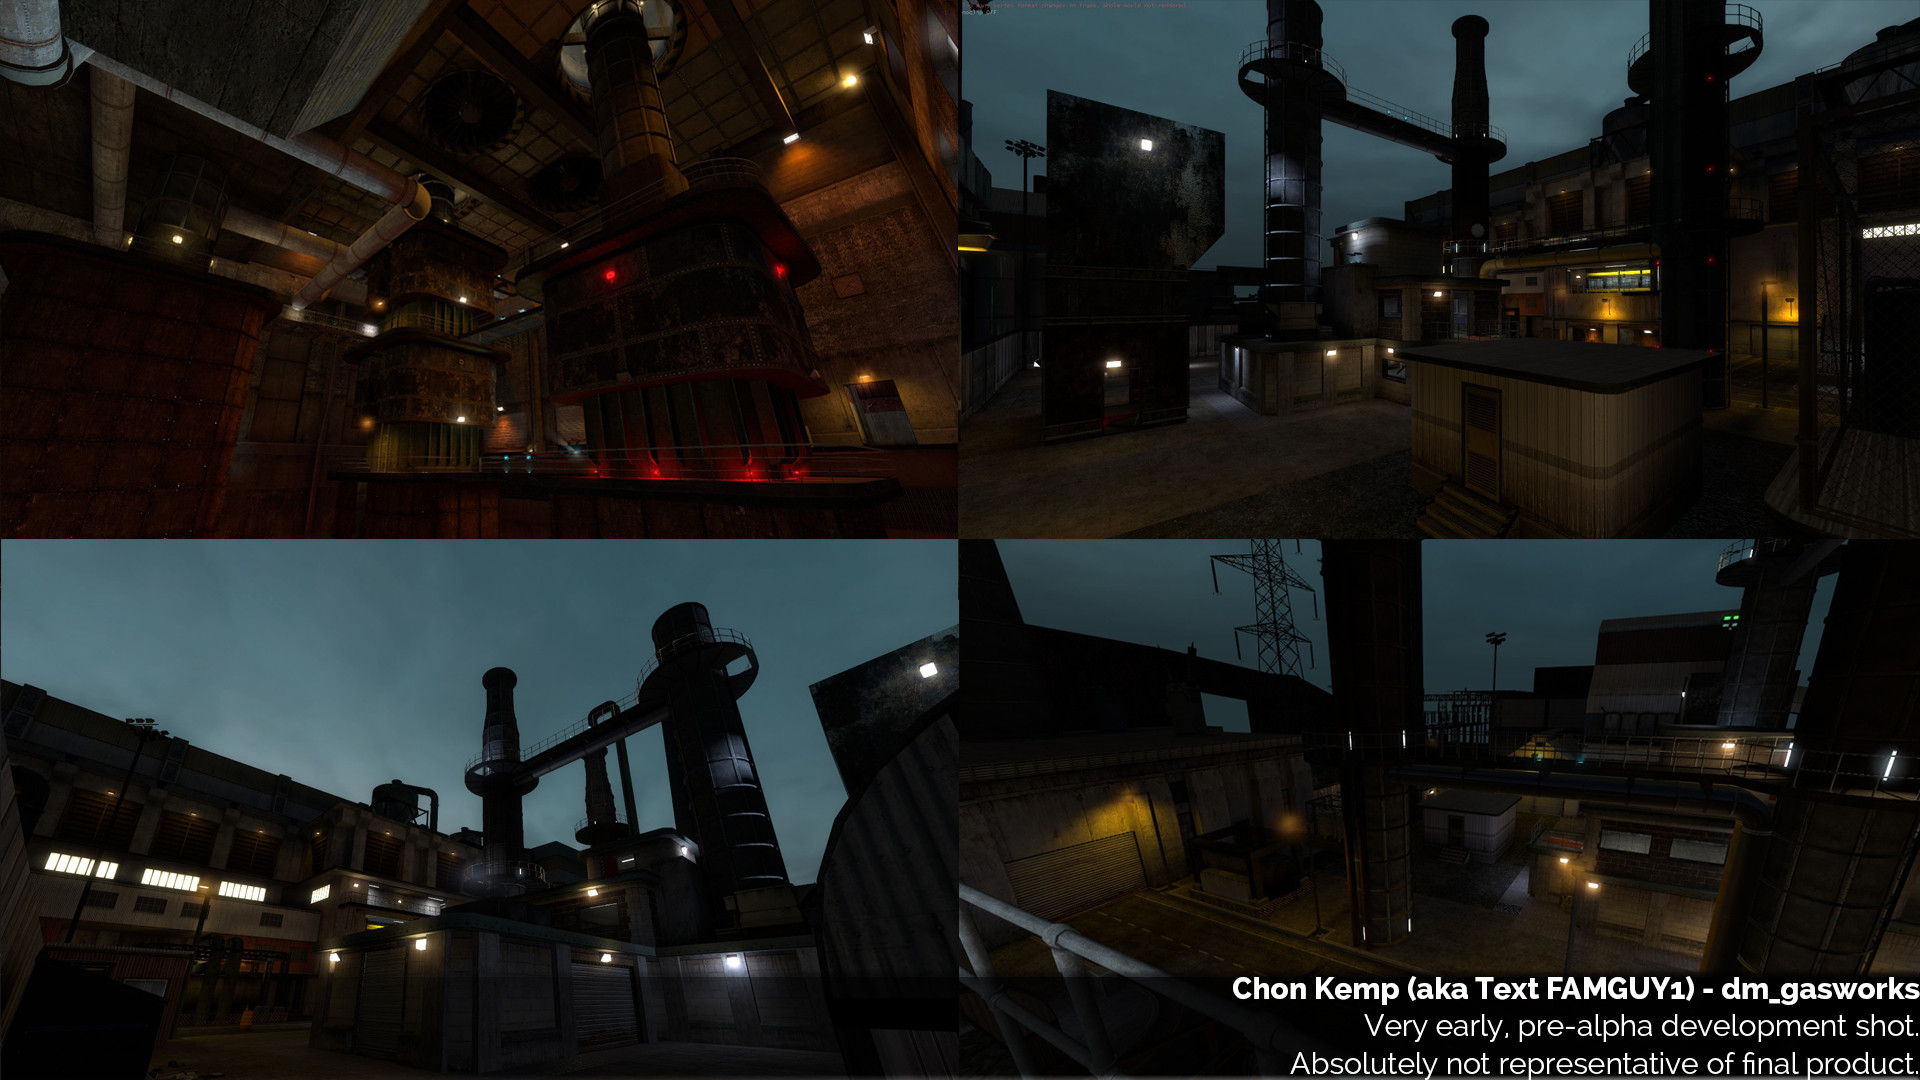
Gameplay and Layout
I set about remaking the basic layout from scratch. I went as close to the original as possible - sticking to all its dimensions. I had HL1’s Hammer open in one monitor, and Black Mesa’s Hammer in another. This allowed me to easily compare measurements and distances. In terms of following the original’s sightlines and dimensions, this second version was very good.
CONSTRUCTION
A slight mistake I made was that I didn’t correct dimensions to be neat enough. I went a bit too close to the original. Dimensions are important for a huge number of reasons which I shan’t go too deep into. On Black Mesa, we try our best to keep things dimensionally sensible. As our general rule of thumb, the map’s basic geometry should sit nicely on a 32 grid, apart from walls, which are normally 16 units as a standard.
On Source, you want to work in powers of 2, and stick as close to them or the halfways as possible: 2, 4, 8, 16, 32 (48), 64 (96), 128 (192), 256, 512. One reason this is important is because textures HAVE to be sized based on powers of 2. Ideally, you always want to avoid stretching and distorting textures, particularly on major map geometry, as it will look ugly. For instance, on Gasworks, many of the doorways in the original were 80 units wide, a weird measurement in construction terms. Let’s say I place that doorway in the middle of a 256 unit wall, which has a 256 X 256 texture on it, which is a texture of 4 wall panels. With an 80 unit doorway, two of those wall panels will be cut short, and at an odd length, which would look bad and never be designed like that. Even if you move the doorway off center, it will never cut any of the panels properly as it does not conform to the size standards. This also means it won’t line up with floor tiles, placing lights at regular intervals around it is harder, creating a logical support structure on that wall is also harder, etc. Then your support beams and lights have to be unevenly placed, or the door has to be misaligned with them. Modular props (such as our gaspipes, which come in 32 unit, 64 unit, 128 unit variants), will not fit properly either.
Stick to the standards. It saves you a HUGE headache later on! After this version, I had to go back and rework a lot of those dimensions for that exact reason, which could have been avoided had I made the 80 unit doorways 96 or 128 units wide. Deviating very slightly from the original, to fit better dimensions, is necessary.
Not working properly on the grid is a mistake which a lot of mappers, myself included, make from day 1. Don’t do it. Be neat, stick to sensible dimensions within the engine.
HALF-SIGHTLINES
Another problem which some of my details had created, which I later learned to avoid a lot, was the creation of “half-sightlines”. These are where your details create unintentional sightlines which are in some way a bit cheesy or both players cannot fully see one another, for whatever reason. This was mostly caused by my artistic choices but there were a few layout offenders too. Look at this:
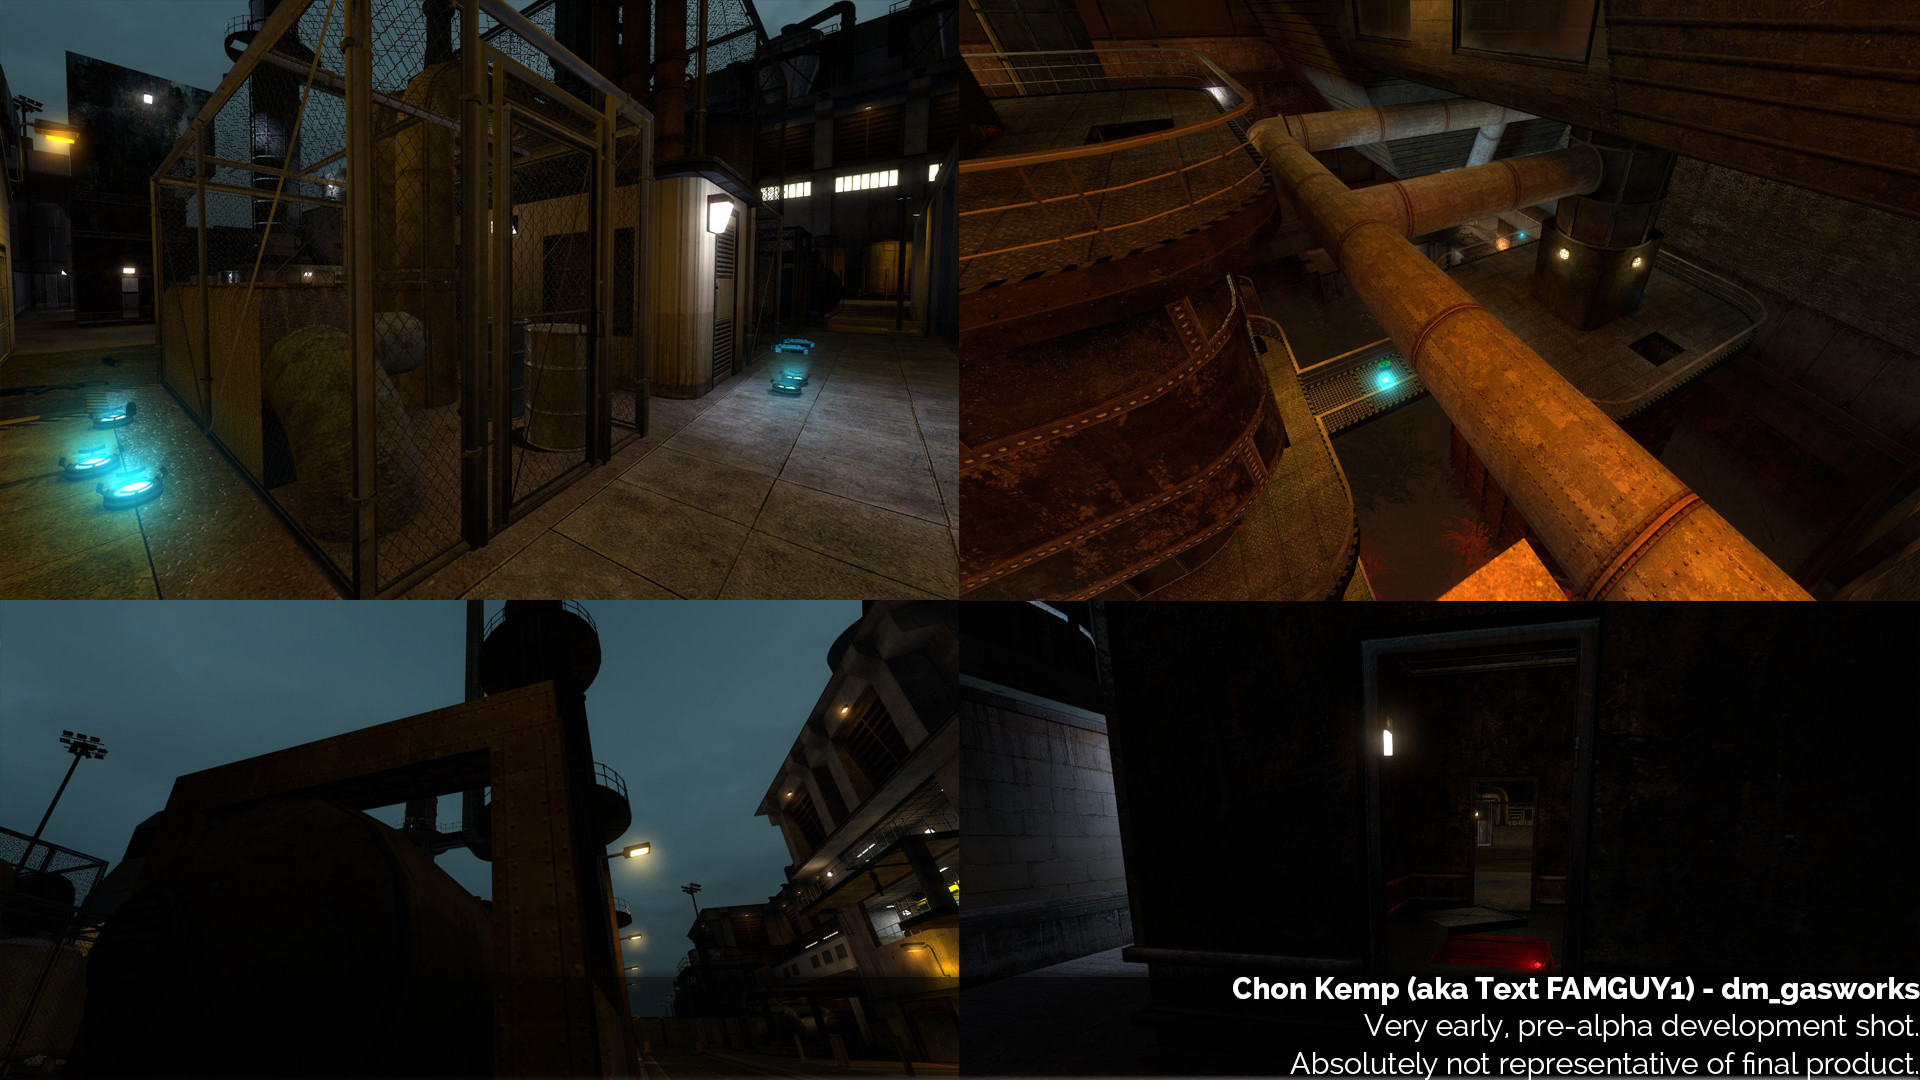
Using these sightlines, it is very hard for the player on the other end to spot the guy standing in the areas pictured - because he is often hidden between tight detail or behind a fence. But the guy standing anywhere in the picture has a full view of the target. Or, alternatively, the sightline is just VERY TIGHT but in a high traffic area, which makes it frustrating and mostly useless. I had intended for none of these - but they really seriously kill off the professional, polished and tight feel of the map.
This is a mistake I see a lot of CS maps make. Avoid these like the plague. Clean sightlines is pretty much always a MUST for any map, otherwise the gameplay becomes unpredictable and frustrating.
Besides from these two problems, however (and a lot of smaller things I would later address, layout wise), in terms of my layout itself, it was greatly improved. The problem came with the art. This is where the most work was needed for the next version.
The Artistic Failure Section
My biggest failings with this version were with art, and this is where I learned a lot of the lessons which have stuck with me. Again, this stemmed from lack of direction and reference. This is going to be a super useful section for budding mappers and people who want to know more about the challenges of level design art, as I made basically every newbie artistic mistake in the book here. Learn from my mistakes! The art on this version of the map seriously detracted from the layout. It would be in the next version where I would start to nail it.
ASSAULT AND SPAM
I hit a mindset with this map which has, to this day, been quite tough to break out of. This is an excellent lesson for budding mappers to learn. I was arting up the map with the mentality that more colours and more lightstyles and more props and more detail behind walls would make it visually thrilling. MORE MORE MORE. I really wanted this map to seriously break away from the trend of modern games towards a single colour pallet, all gray and brown. I thought that having colourful textures and lighting would make the map stand out and be beautiful.
Instead, it just looked awful. It was a messy, visual assault. There were so many colours and different lights everywhere the player never had any idea where to look.
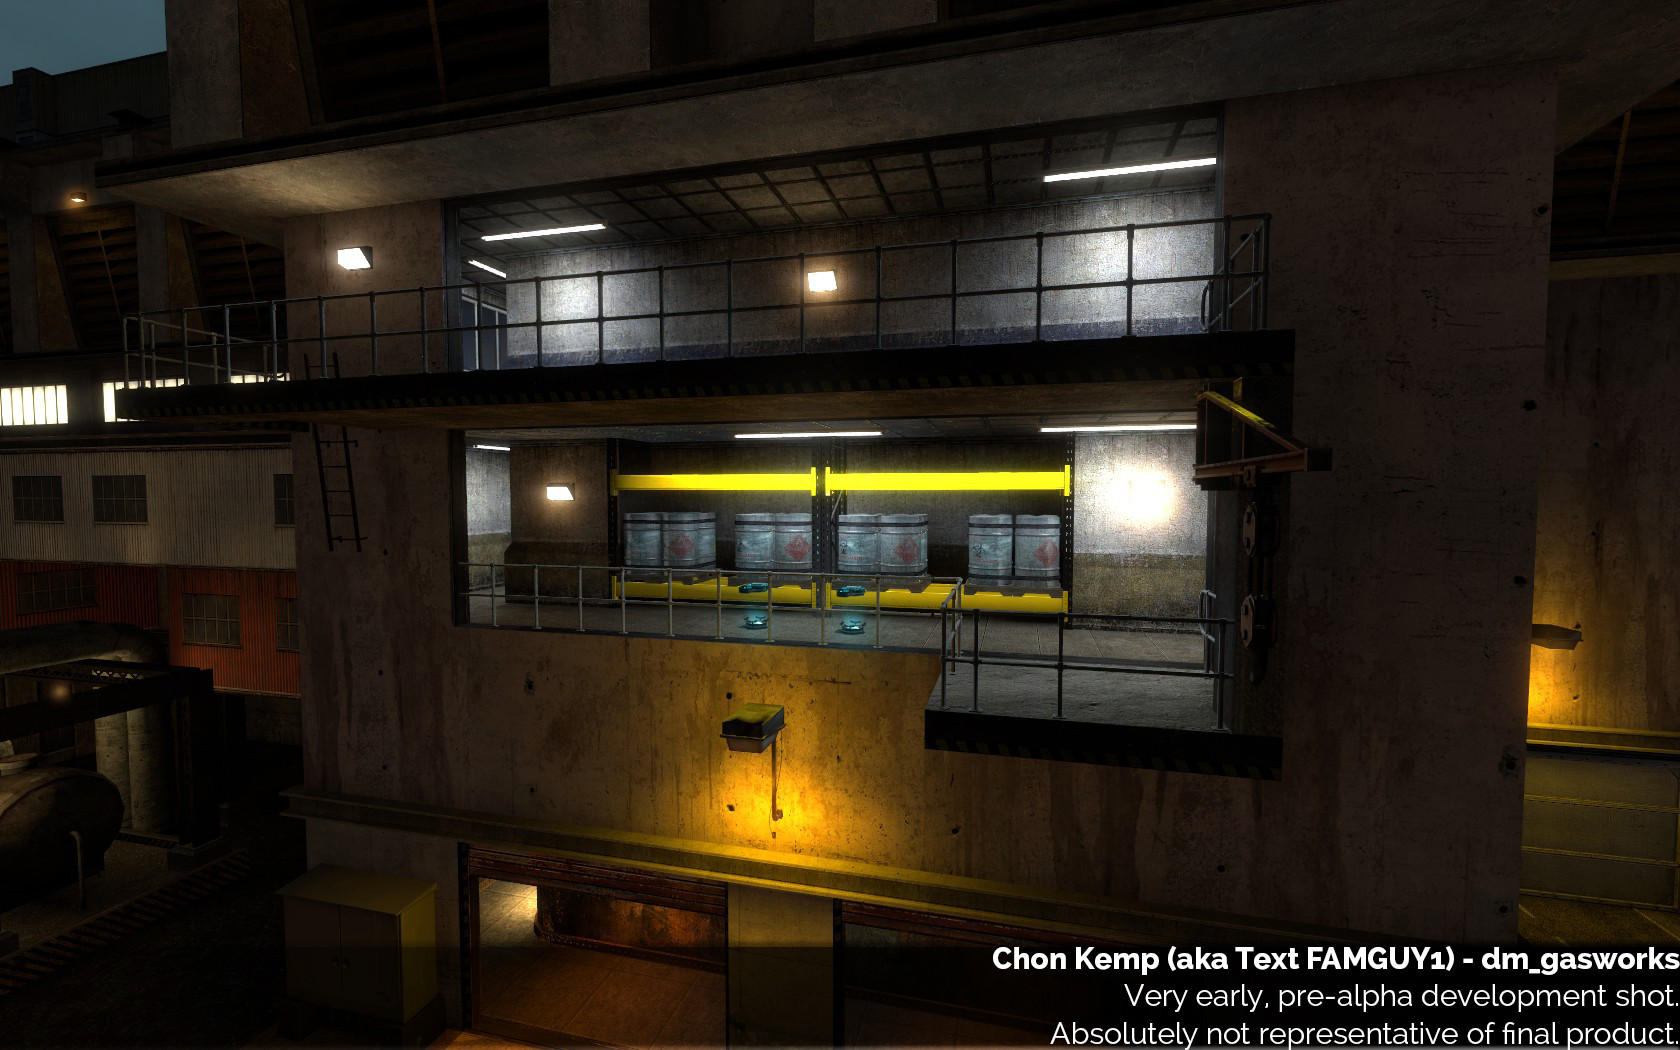
Check out this picture. You can probably see how visually disgusting it is, but might not be sure why. So why is it? Firstly - look at the lights. There are 7 lightstyles visible in that single area - all very different shades. It looks ridiculous. Think about reality - have you ever seen that many different shades of light in one area, even at a rave? Why would it be designed by that? I don’t know where to look. EVERYWHERE pulls the eye. The combination of lights and texture colours turn the scene into a messy, unreadable blob. There is no reason to do this.
Stick to a colour pallet, both in lighting and in textures. Gasworks eventually becomes red and yellow, with blue and orange lighting. Could you even easily describe the pallet in the image above? I know I can’t, without listing 20 colours.
You will also note the map is REALLY DARK. This is something I would address in later versions, too. Night maps should not be dark. Darkness is, generally speaking, really not fun in multiplayer games.
STYLING DIFFERENT PARTS OF THE MAP
This relates closely back to the previous section. It was my belief that by making the interior hallways very differently styled and designed, it would be easy for players to know exactly where they were on the map at all times, as no hallways would look the same.
Player navigation, and art, in this aspect, is about striking the perfect balance. This is a philosophy which I have learned - everything must be perfectly balanced in a map, ESPECIALLY IN THE ART. Too many styles of hallways, and the player never knows where they are because the halls are all so different. It becomes confusing. Am I even in the same map? Where is this hallway in relation to the 5 other completely different looking hallways? It also separates you from reality. Facilities have consistent styling in their hallways. Conversely, with too few styles, and everywhere on the map looks the same, and you have the same effect. You never know where you are because everything looks the same. The key is to pick a consistent style, and then differentiate the sections subtly.
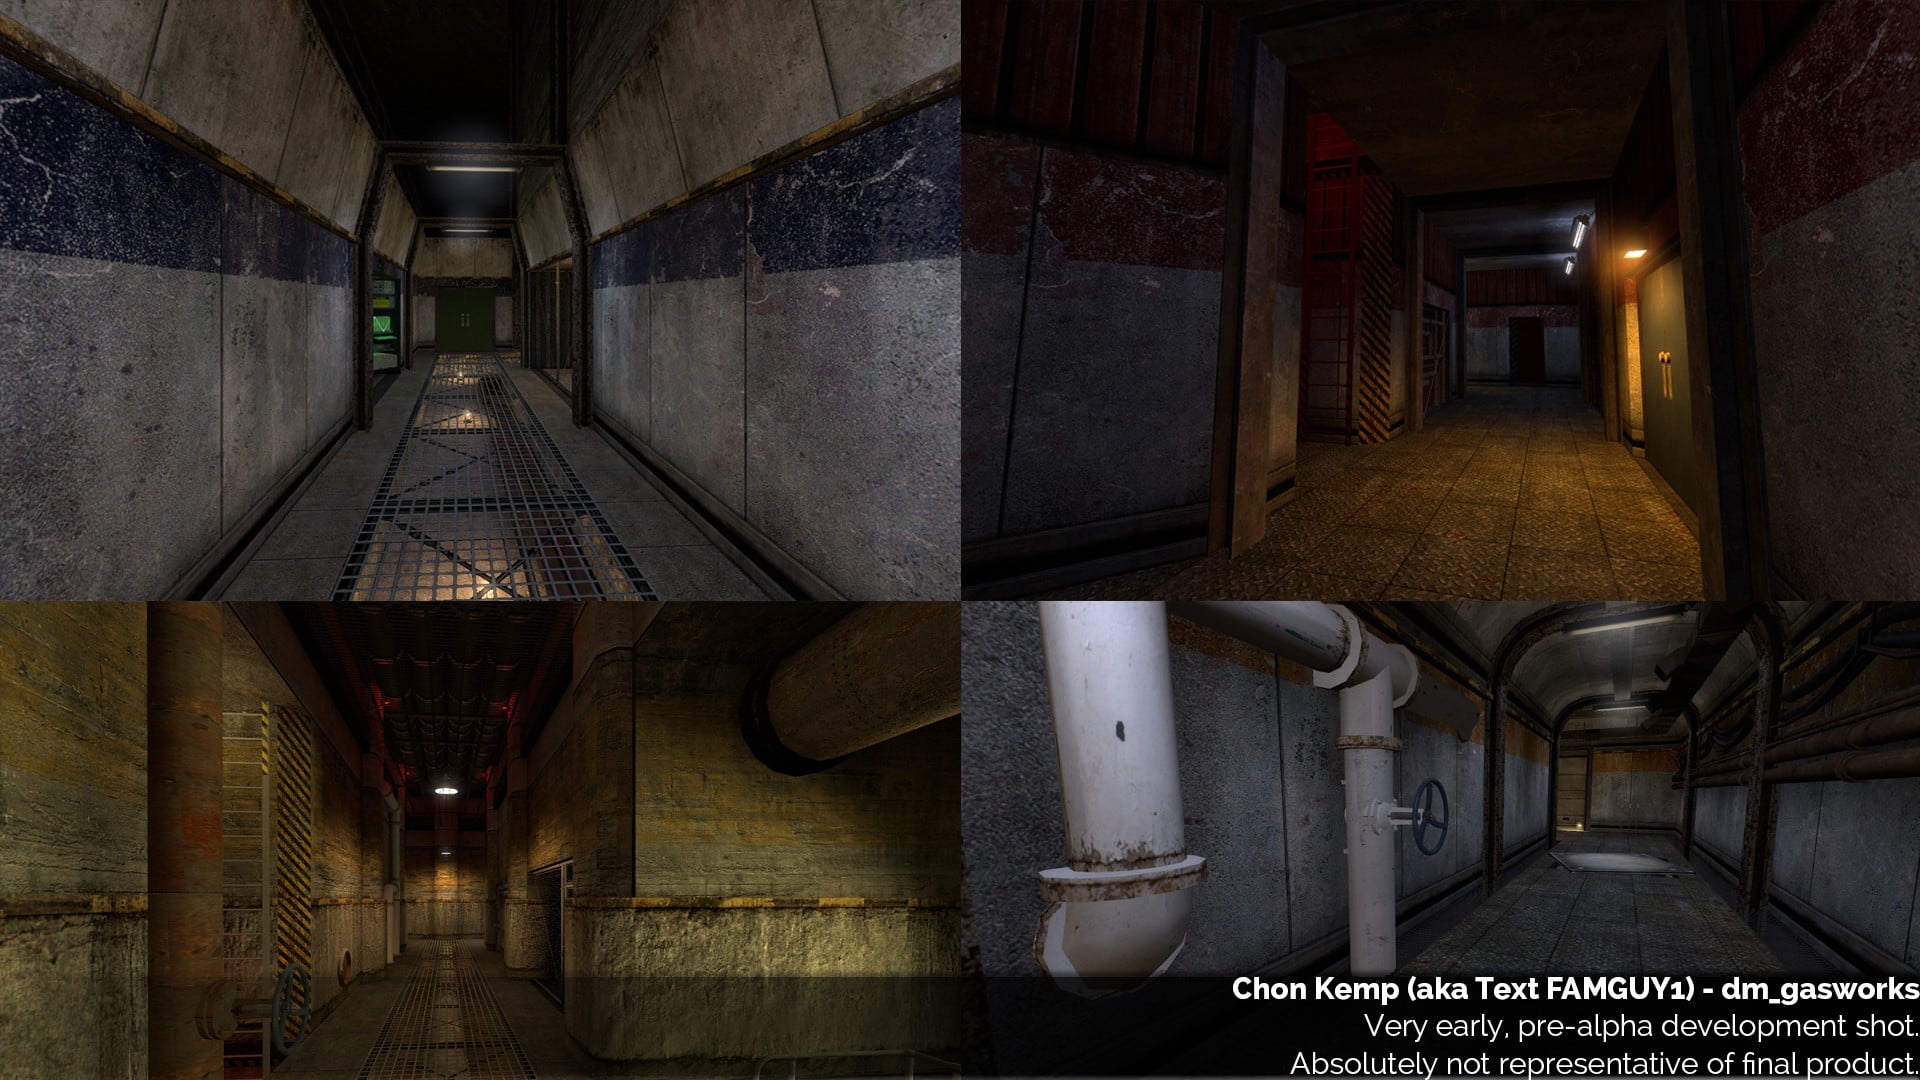
Focus mainly on the architectural style.
This is one of the interesting things about detail. It actually can get in the way of recognising an area. In the original HL1, all the hallways were totally bare and simple, and uniformly lit. You identified where you were pretty much solely from the layout and wall texture. However, modern games have a lot of detail that can get in the way, different lighting, among many other things. It MUST complement the layout, not work against it. Having all the halls be totally different, works against the layout. This is one of the major challenges of modern game design, vs old game design.
DETAILING DRILLING INTO WALLS
Another thing I got into a habit of doing in this version, which is just lazy and bad, is detailing areas by drilling a hole in the wall and adding stuff there, behind a fence, or window, or partially open door, etc. This ties in to the next problem somewhat. Doing this is lazy and amateurish. It’s very easy to put loads of detail and machinery behind a fence wall - and it sounds great on paper: it’s detail, but it doesn’t interfere at all because it’s completely outside the playable space! You can lay it out and design it exactly how you want, put anything crazy there! It sounds perfect for detail.
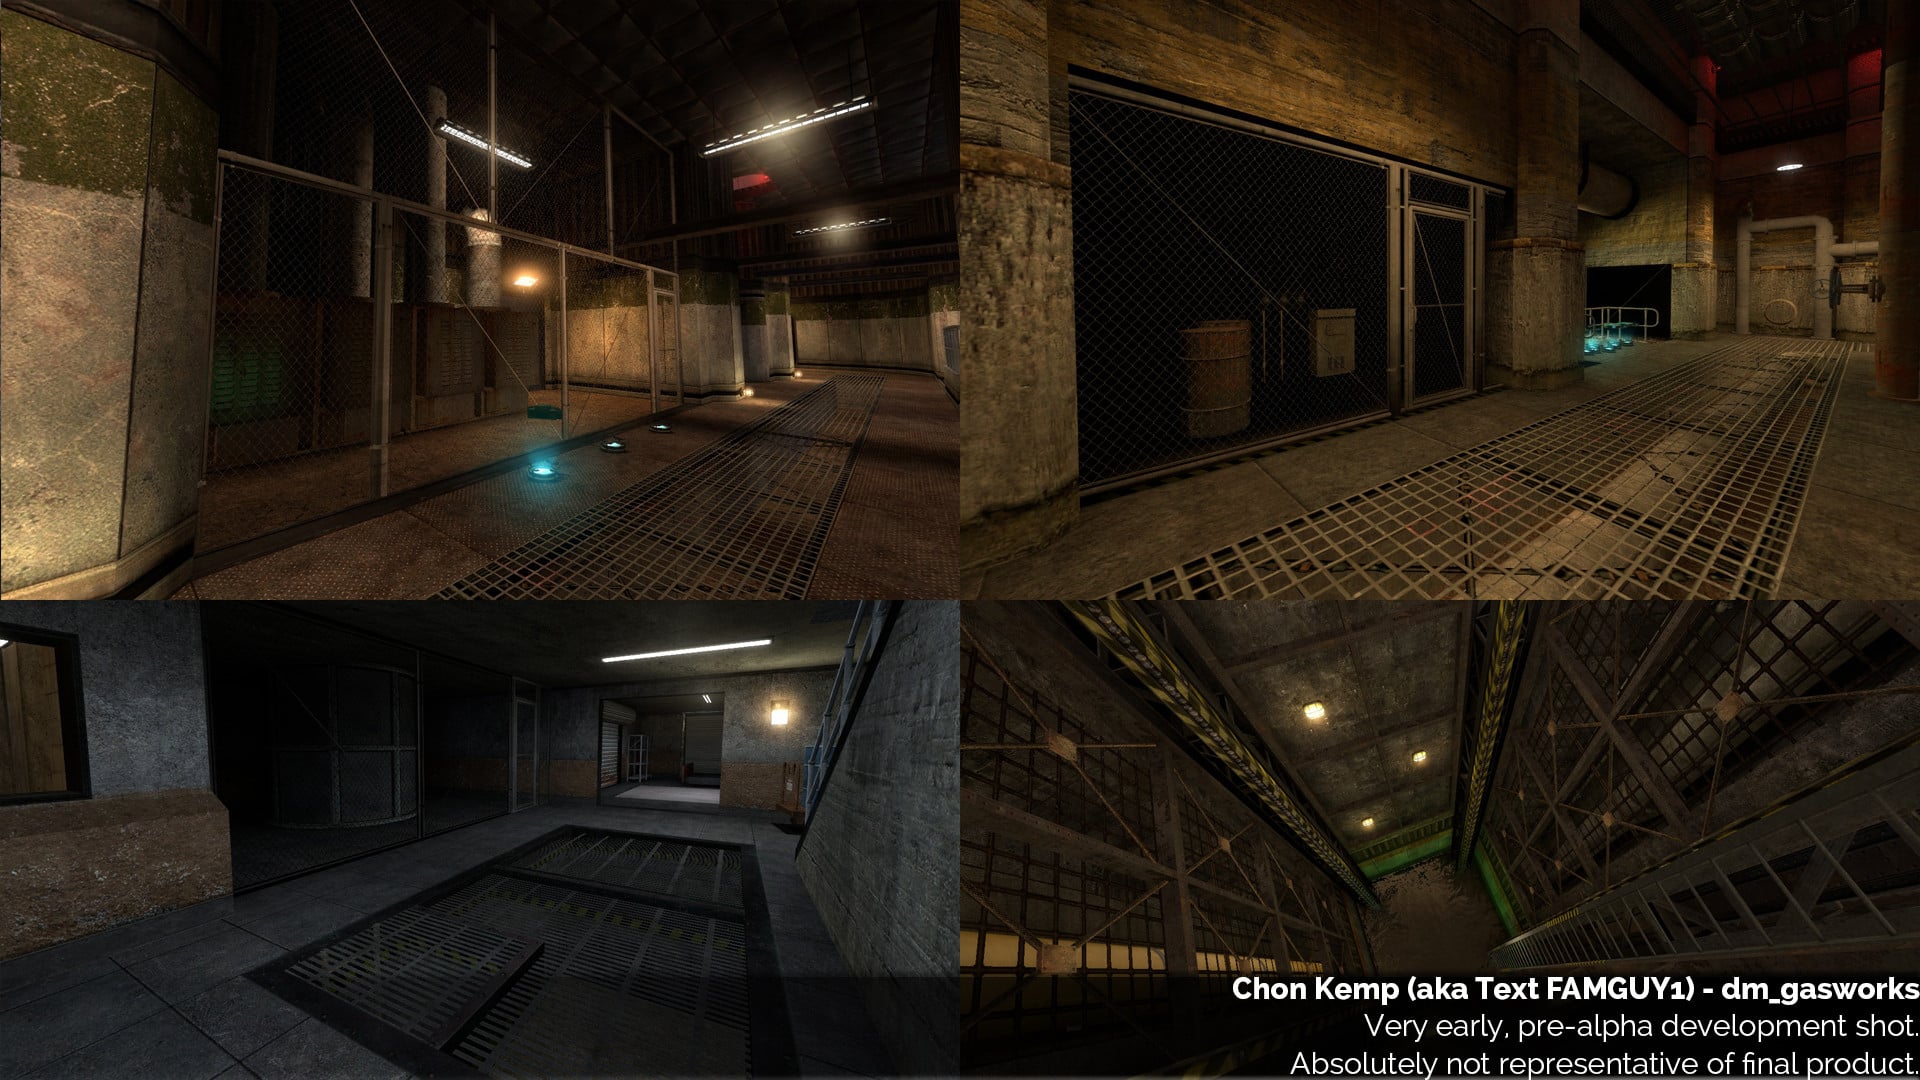
Think about it. It’s not difficult to do. Replace any random place in a wall with a fence/window and slap whatever the hell you like behind it, it doesn’t even matter. Except now, none of your detail is IN the map, it’s all OUTSIDE it. Your playable space, instead of being bare walls, is now bare fence. Rather than putting time and effort into making your details look great within the map, and making them unobtrusive and add to the design and visuals, you’ve shunted them off behind a wall where it doesn’t require any thought at all. Post this version, I learned to AVOID THIS LIKE THE PLAGUE. This is something a LOT of amateur maps are guilty of - mostly because it’s just so easy! Make the effort to make your details work. Don’t be this guy. You don’t want to be like me. I’ve seen this problem on a lot of amateur maps - I myself made this mistake a lot. Avoid it. Take the extra effort to make details work within the map.
That’s not to say never do it. Just do it in moderation! This is much more reasonable to use in singleplayer maps. The principle I am talking about here mostly involved multiplayer design.
EXPANDING AREAS TOO MUCH
In singleplayer, a very commonly used tactic to increase player immersion is to greatly expand on places beyond the playable space. We use it a lot in Black Mesa, ourselves. It makes the world around you seem a lot bigger, and more realistic. It gives a sense of scale and realism. Puts you in a larger world.
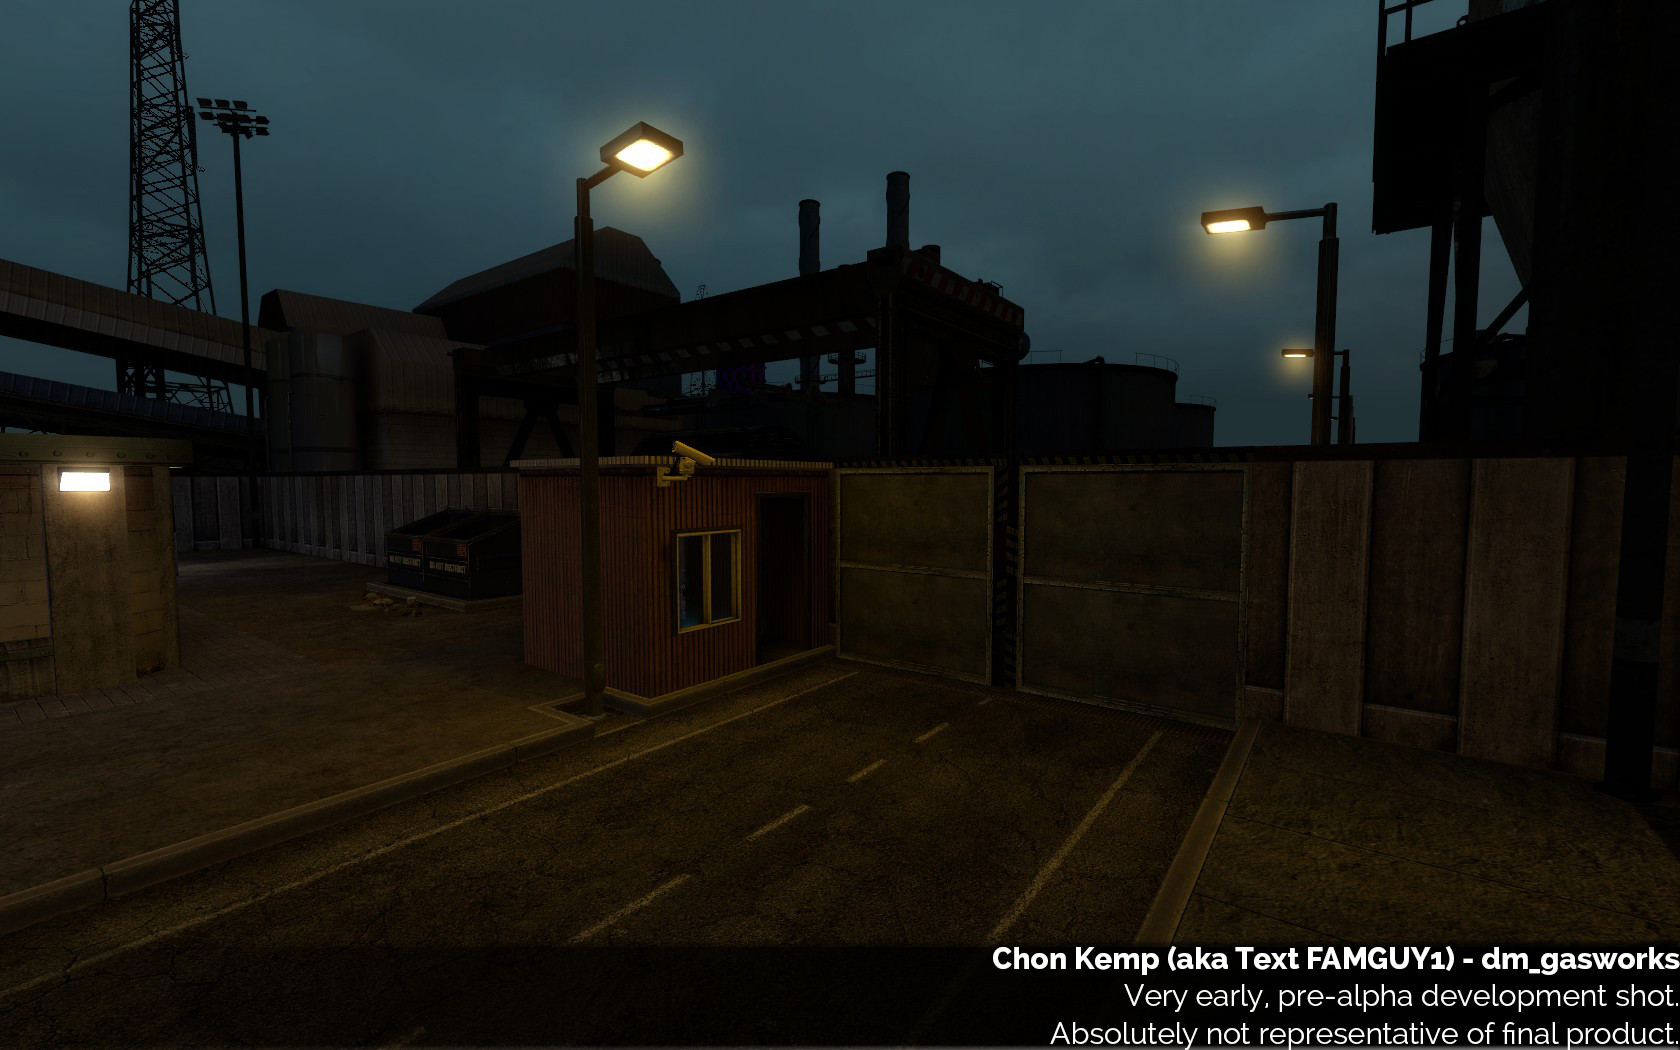
This does not work, at least not quite to the same extent, in MP. Expanding beyond the playable area creates a variety of problems in MP, if not handled correctly.
One of the things I’ve learned about detailing in MP games, is that it has to be utilitarian. Having detail in a place the player can’t go or get a great view of, doesn’t add anything to the map. In MP, players will not be wandering around, searching every nook and cranny, admiring every detail, like they might in SP. They’ll be focussing on the important parts of the map - where they kill the bad guys. That’s where you want the detail to be. Look here:
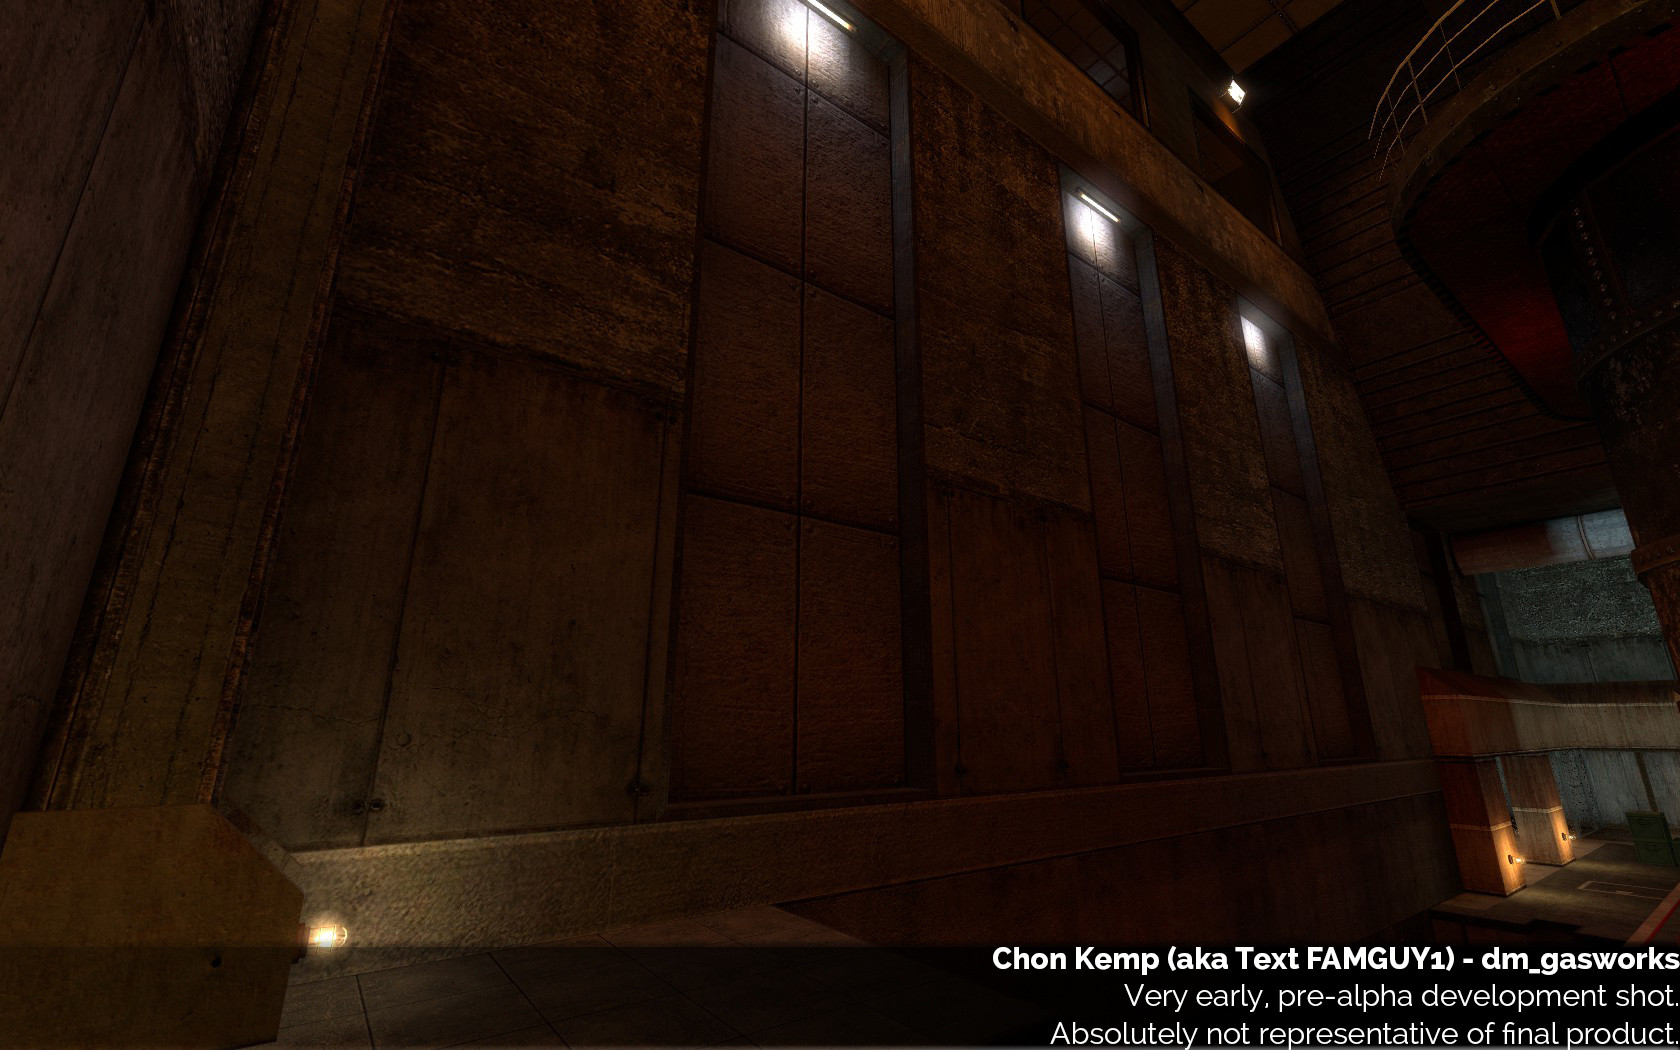
The detail on the wall, and the lighting (on the left) is unnecessary. It doesn’t add anything to the map and is on a totally unimportant wall. That eats up resources and player attention. From a pragmatic perspective, there’s no reason whatsoever for that wall to be detailed - it’s just detail for the sake of it. Detail achieves two (sometimes opposing) purposes. It draws your attention, or you gloss over it. Having detail on an unimportant wall can draw your attention when it shouldn’t. Why detail an unimportant wall? If it is a blank wall, your eyes will immediately gloss over it and go to the lit and detailed area. That is what you want.
Expanding the area beyond the playable space creates the same problem. If you put the expanded areas in inimportant places, it makes it harder for your eyes to gloss over those unimportant areas. Conversely, if you do it in important areas - WHY ARE YOU DOING THAT!? The player’s focus should be ON said important area, not behind it! It can also create confusion as to where the player can and can’t go, as it becomes hard to tell at a glance.
IF YOU LIKED IT THEN YOU SHOULD HAVE PUT A CURVE ON IT
Here’s another bad mistake. Don’t just slap curves on everything. I had no idea how to make the corners on the interiors look good, so I just slapped curves on them. This screams out “I had no idea what to do, so I put curves”. The windows were curved, the doorways were curved, the walls were curved. And why? They served no purpose. NEXT GEN!
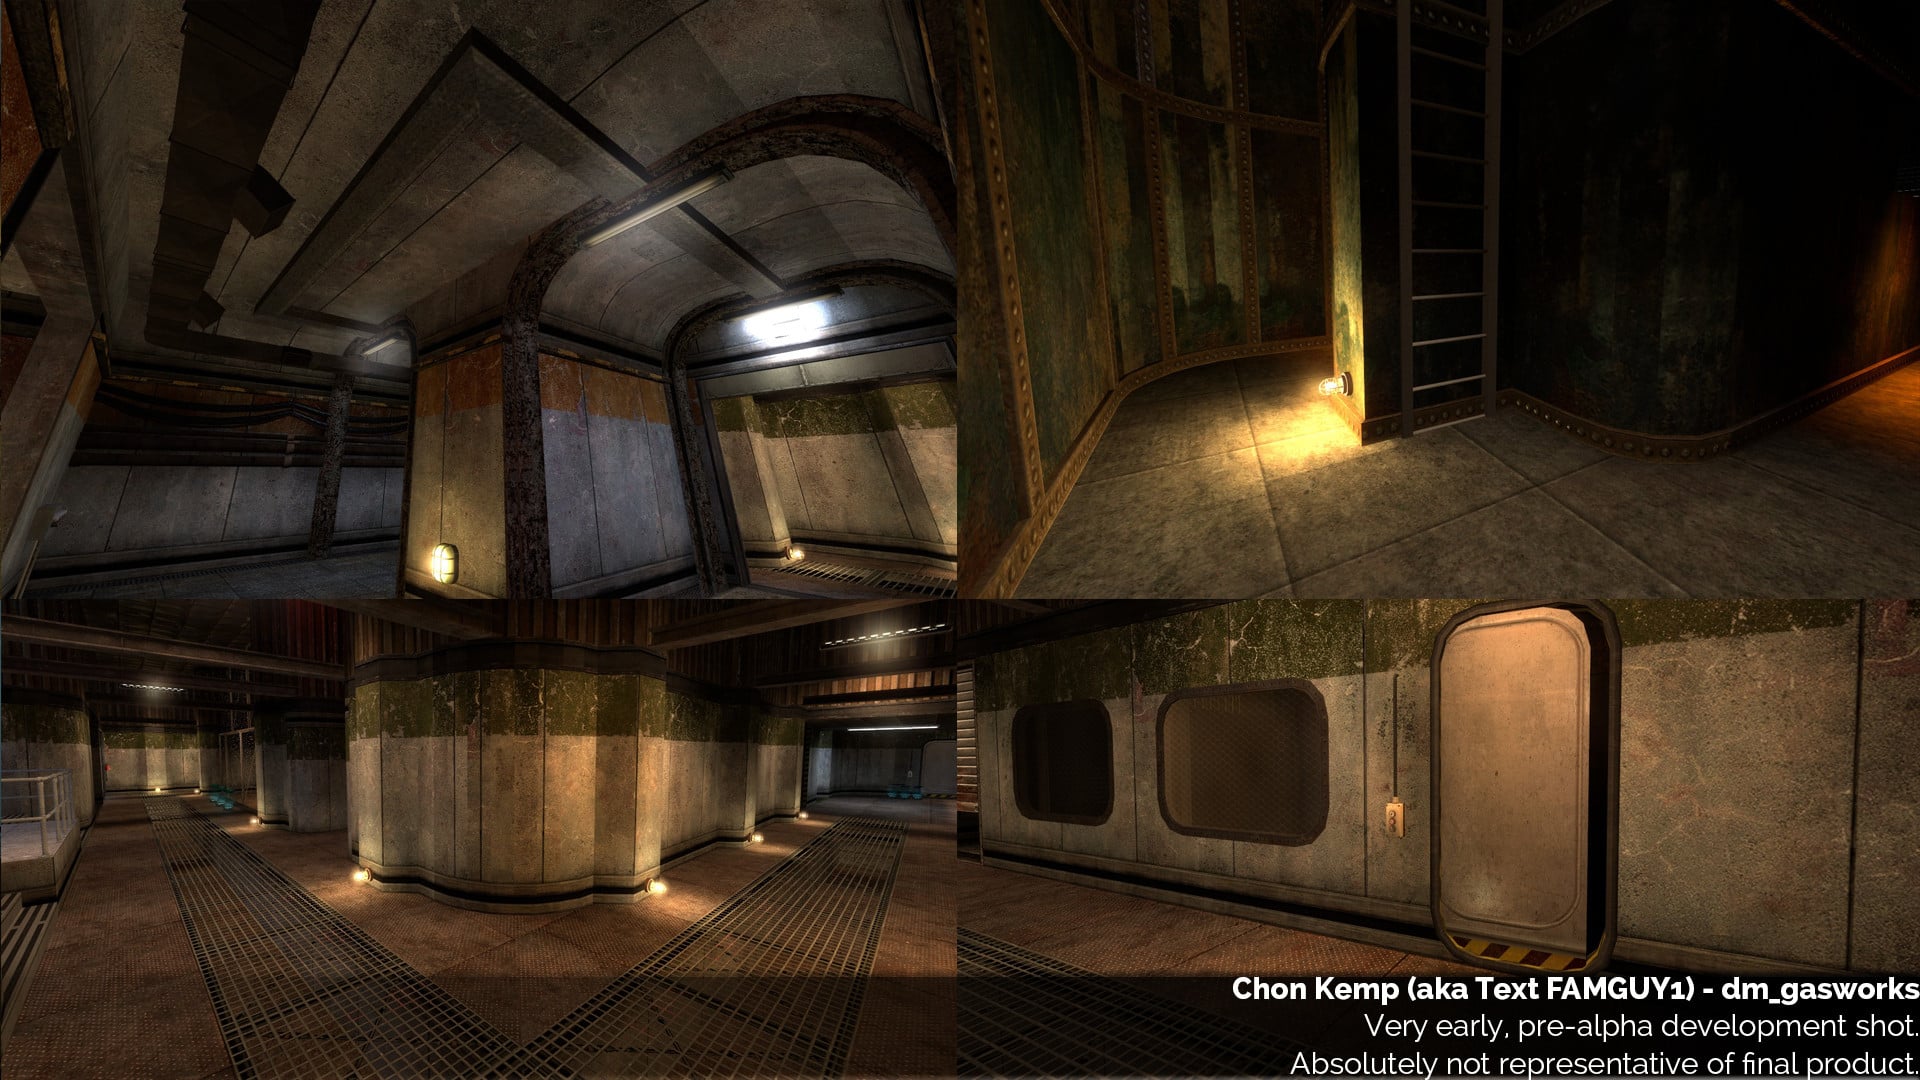
Mappers HATE when their maps are blocky. But, just randomly putting curves everywhere, kind of like the fences and drilling in detail, is an easy and lazy way of ignoring the problem. Only place curves where they would make sense in reality.
Conclusion
The conclusion of this section? BALANCE, BALANCE, BALANCE. I had too much of everything. The art of art design is finding the right balance for the map. A Gasworks is very utilitarian, and has a clear purpose. Everything would be designed for a reason, and would be consistent. They’d have huge teams of engineers planning and designing for months.
A lot of the conclusions I drew in this section were done with the help and very extensive feedback of that same mapper who gave me my rude awakening. I thank him a lot for that! Once I had made this second iteration, he made an extensive (no, seriously) feedback piece, and we ran through the map chatting on Skype for about 2 hours. This finally got me on track, as it allowed me to learn the PRINCIPLES behind my mistakes. This is what made the third iteration.
My next post will detail the version where I finally started to get a handle on the map, and it starts to come together. The next (third) iteration was still very far off the current product, but it was the start of the right direction.